For a number of years my wife and I used a now archived project and a Raspberry Pi 4 Model B to take photographs of and sensor readings from an area inside our house. The project worked nicely and was a good learning experience.
Once the project was defunct I found myself enjoying commercial sensor products more than using sensors on a Pi (SensorPush and Tempest Weather System for example), but the intersection of photography and programming the Pi offered remained very intriguing...
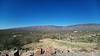
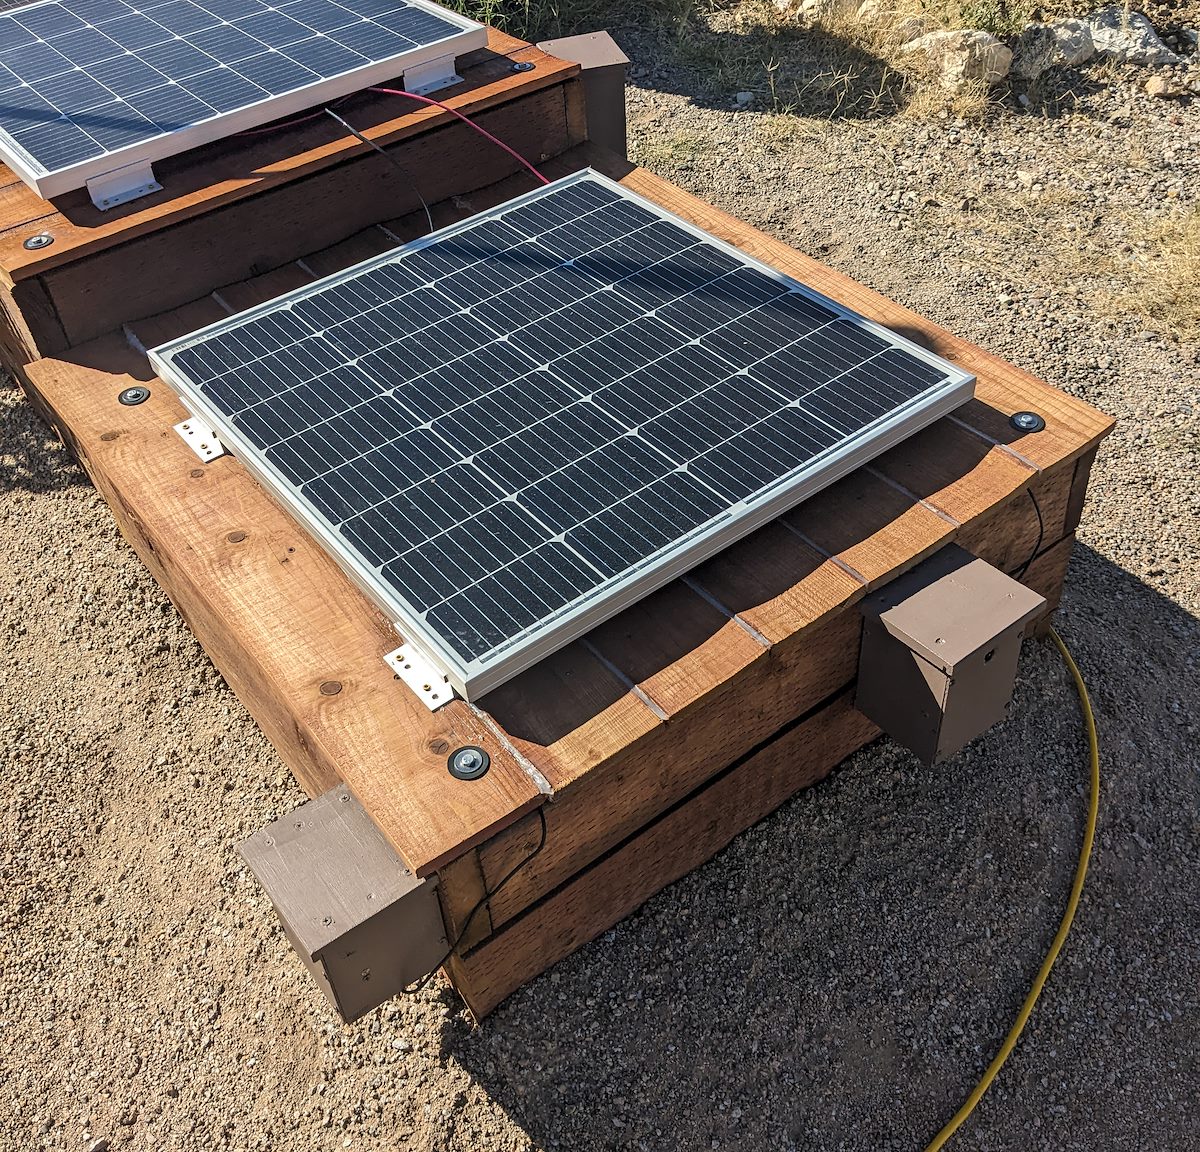
This year we built a 12V solar system at our home that has enough spare power to easily run a few Pis - and it happens to be in a spot with a decent view - so I got to work purchasing Pis with cameras, building weatherproof enclosures and writing software for a new photography project!
For Pis I went with:
- Raspberry Pi 3 Model A+, 5V 2.5A Switching Power Supply with 20AWG MicroUSB Cable, 32 GB MicroSD Card (purchased locally at SWS Computers) and a case from Adafruit: This was about $60 USD plus shipping (unfortunately I'm not aware of anywhere to buy these locally). I like the $25 USD price of the 3 A+, the full sized HDMI port and the slim profile.
- Raspberry Pi Camera Module 3 - 12MP 120 Degree Wide Angle Lens: I love photography - you can see some of my work over on Pointless Waymarks - so I considered a number of choices for this project but in the end the cost/convenience/size/performance of going with a $35 official camera module won out.
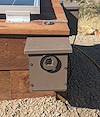
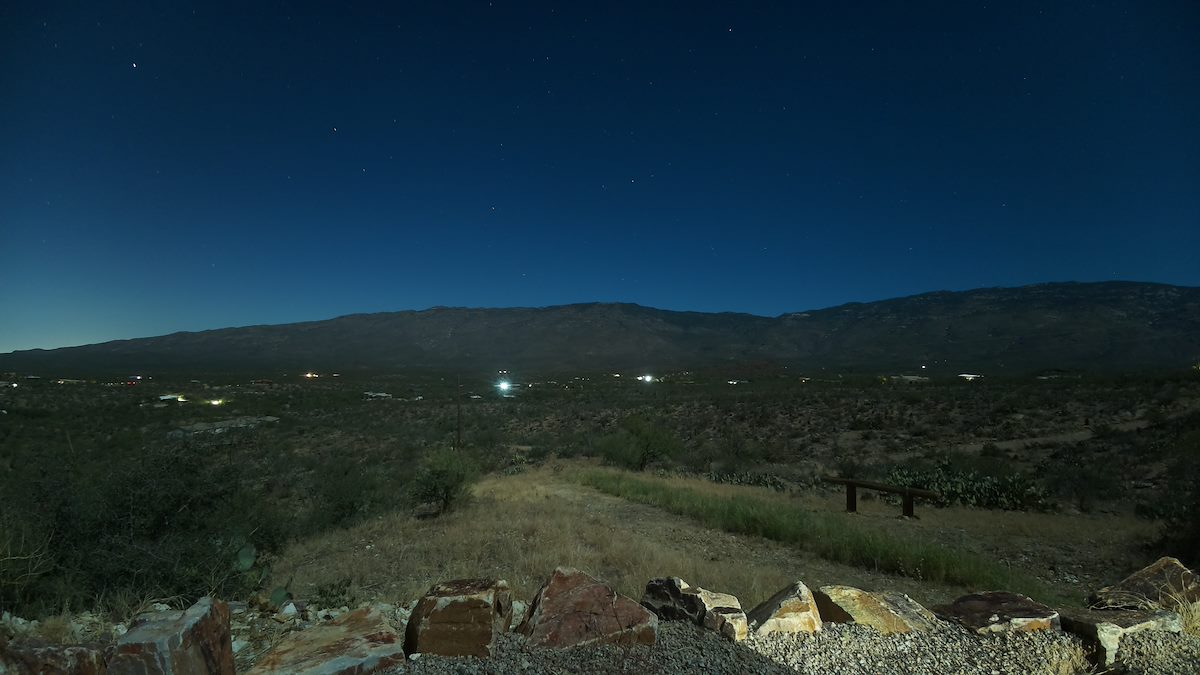
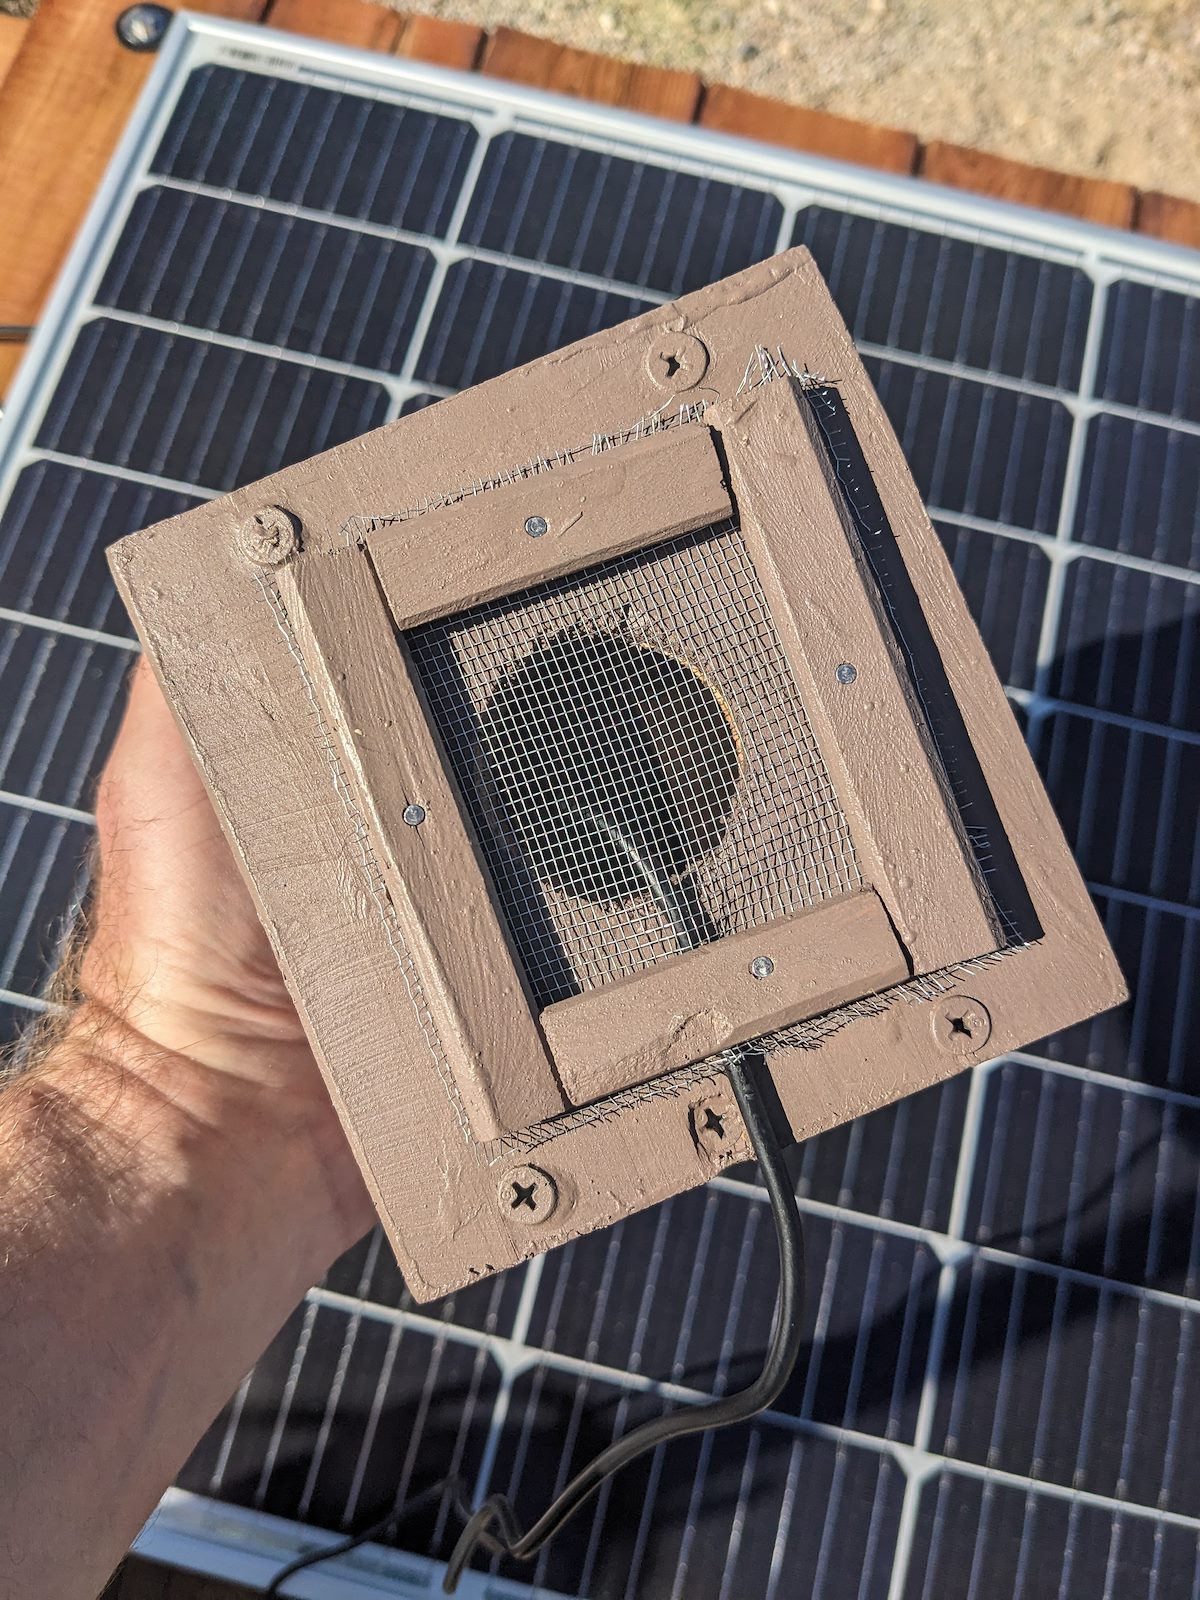
The Pis need to be outside for this project and so a weatherproof enclosure was a necessity. For the enclosures I used wood, glue, screws, nails, paint and screen that we already had around the house. My carpentry and painting was very basic - not really worth comment - but the process of getting the camera lens sealed was interesting and worth sharing:
- The first enclosure I built used plexiglass for the entire front panel of the enclosure - but at least with the plexiglass I had the images were never sharp. I was using plexiglass left over from another (not camera oriented) project and I didn't want to dive into figuring out 'best optical quality plexiglass' (and didn't want glass for durability reasons) so I abandoned this approach.
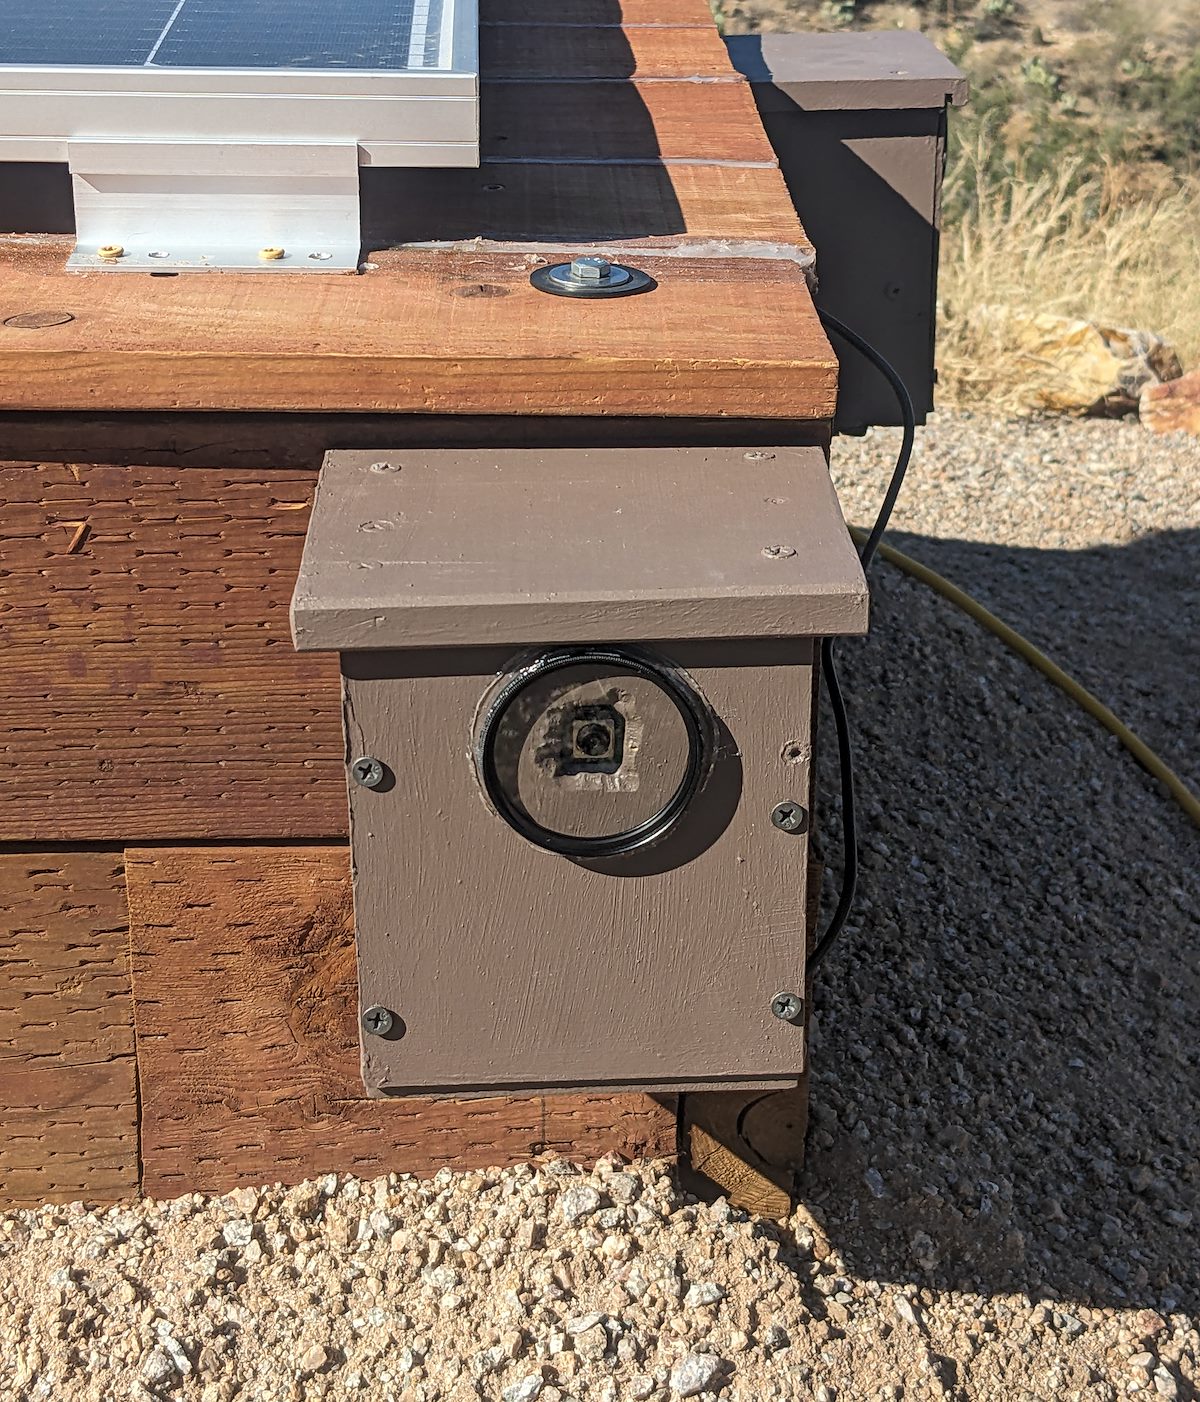
- To move to another strategy I mounted the camera on a solid front panel with a hole for the lens - on the first try the silver part of the camera module was tight to the front panel - but with the tight mounting I was back to out-of-focus photographs... In the end I added a spacer to mount the camera just off the front panel.
- I tried a plexiglass dome off of Amazon to cover the exit hole for the camera - this was great for part of the photograph but distorted the edges. Clearly a dome over a camera can work but at least with this dome/setup it was going to require mounting the camera farther into the dome, not a complication I was interested in.
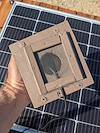
- The solution that finally worked for me was using a UV lens filter and hot gluing it to the outside of the enclosure. I used $8 Tiffen 55mm UV Protector Filters - it is easy to find smaller diameter filters but after some experiments I found this size easy to position so that it isn't visible in the corners/edges of the photo.
The total cost of a Pi and enclosure was around $100 - you can easily find security cameras or game cameras at this price point which likely have some features that would be time consuming to replicate with a Pi, but for some projects the flexibility of having your camera connected to an open general purpose computer is hard to beat!
Taking photographs with a Pi and the official camera modules is easy to script and there are some interesting pieces of software available like allsky - but for this project I decided to write my own software in C# to allow the scheduling that I wanted.
The software is available on GitHub - cmiles/PiSlicedDayPhotos - features include:
- The program gets Sunrise/Sunset times from a file you place next to the program. This allows you to provide whatever sunrise/sunset times you want - in our case we generated the file with gvellut's tppss which allowed us to get sunrise/sunset times taking into account the local topography (we have a mountain peak to the east and care about when the sun comes over the ridge - not about the sunrise time on the imagined true horizon we can't see...).
- Photos are taken at Sunrise, Sunset and at times defined in the configuration file including:
- A number of photographs evenly distributed between Sunrise and Sunset (during the day - 0 is valid)
- A number of photographs evenly distributed between Sunset and Sunrise (during the night - 0 is valid)
- Times relative to sunrise and sunset - for example Sunrise+10 for a photograph 10 minutes after Sunrise
- Clock Times
- Error messages are delivered as image files into the same directory as the photographs - I rarely ssh into or monitor the Pis and only look at the photographs after a periodic task transfers them into a central directory - so this provides 'good enough' alerting without needing the Pis to have email/text/alert api access.
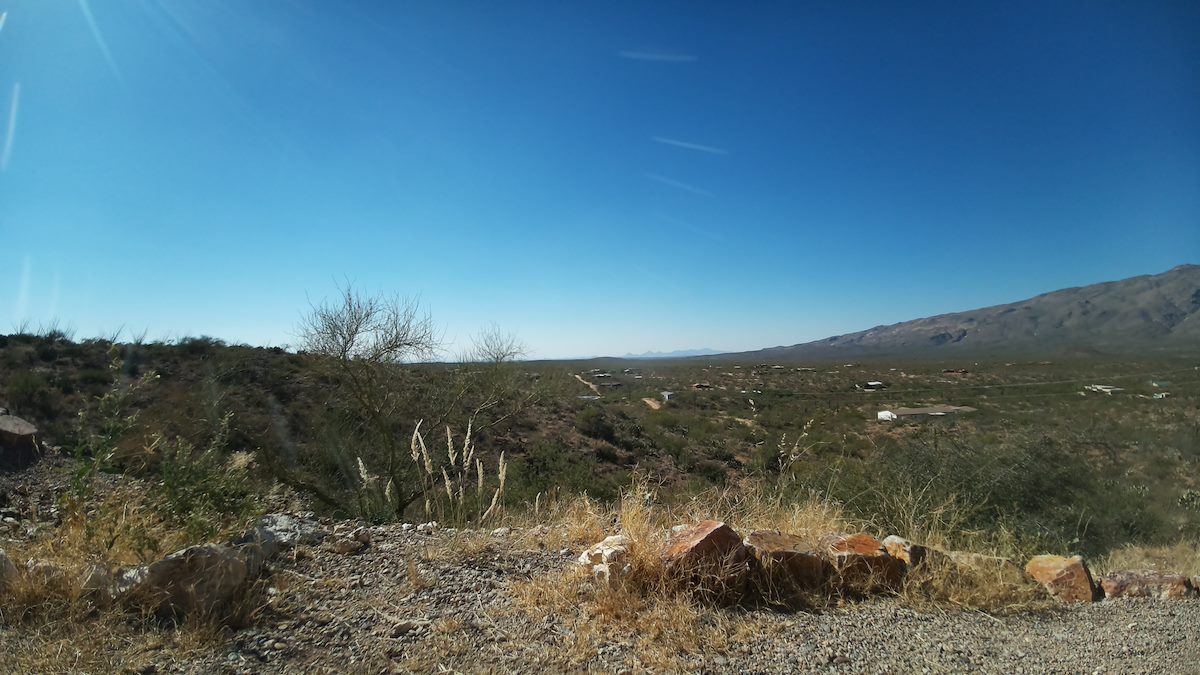
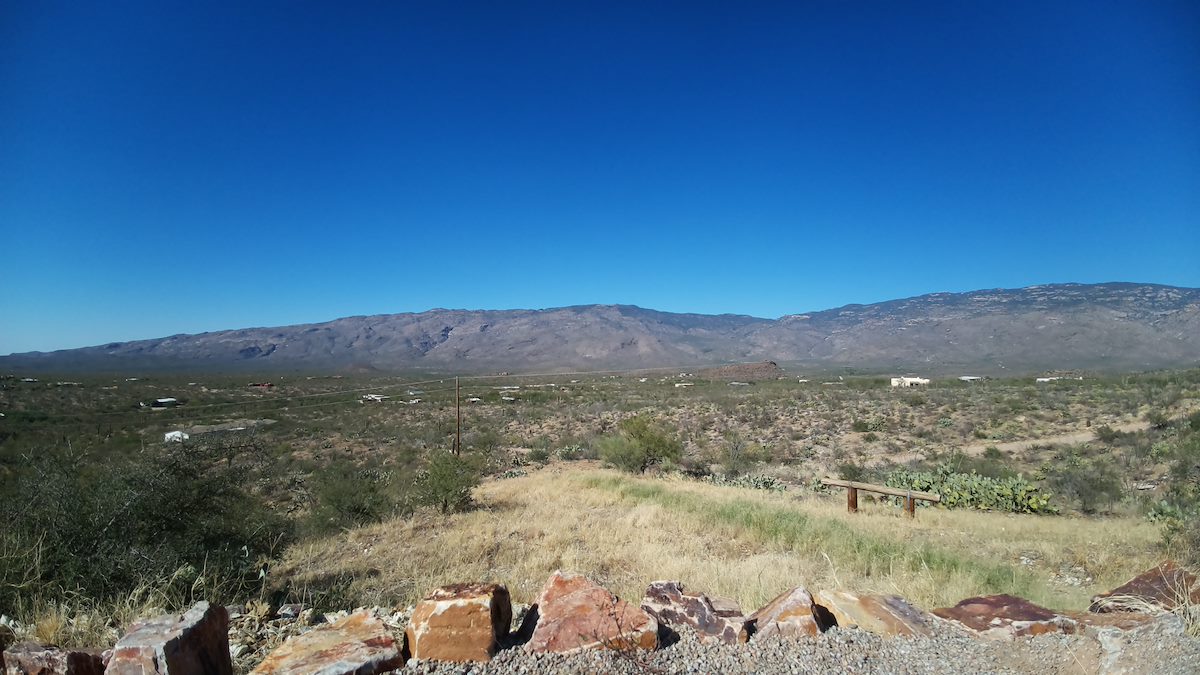

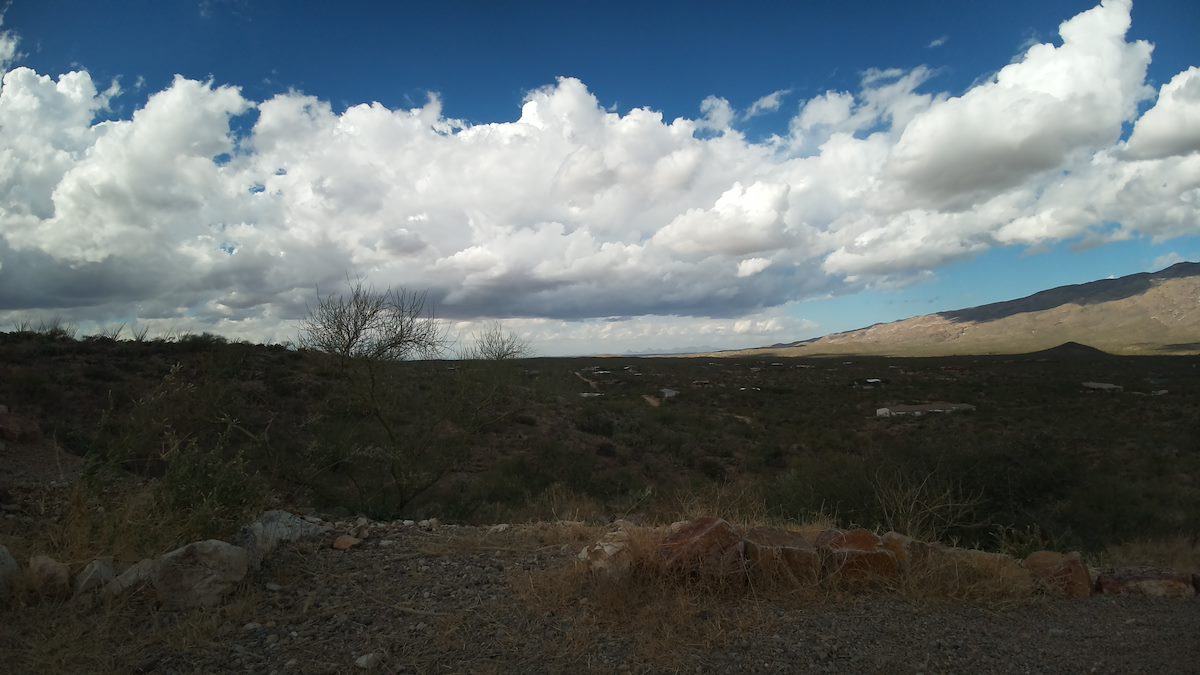
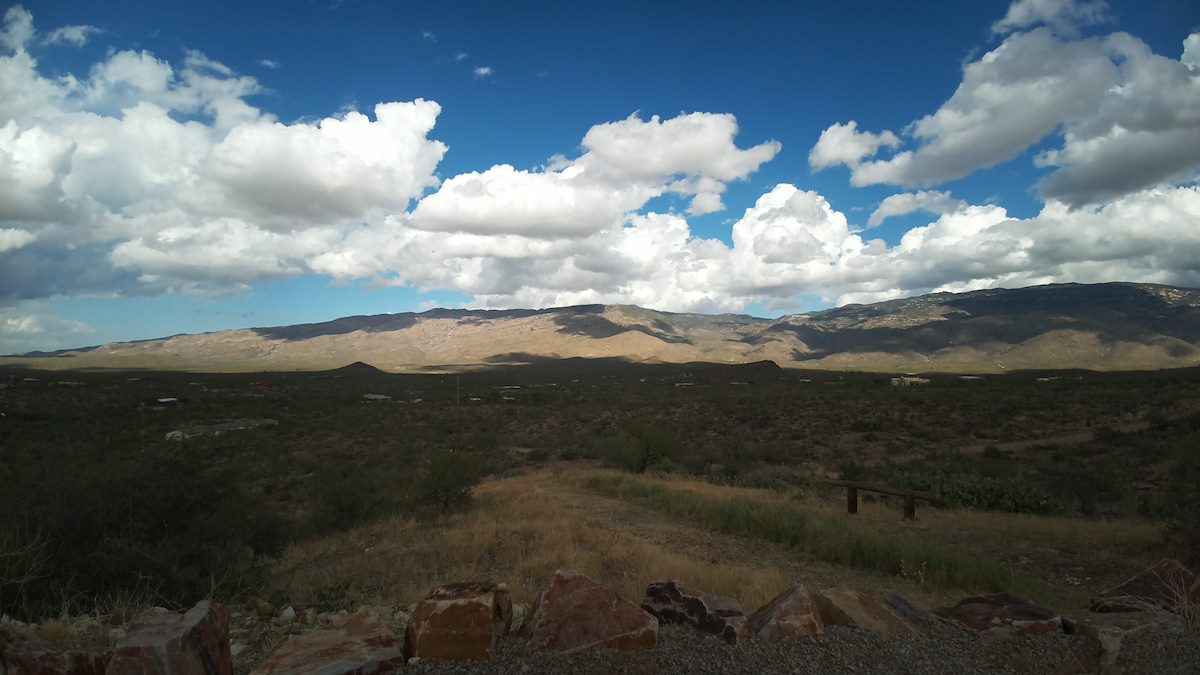
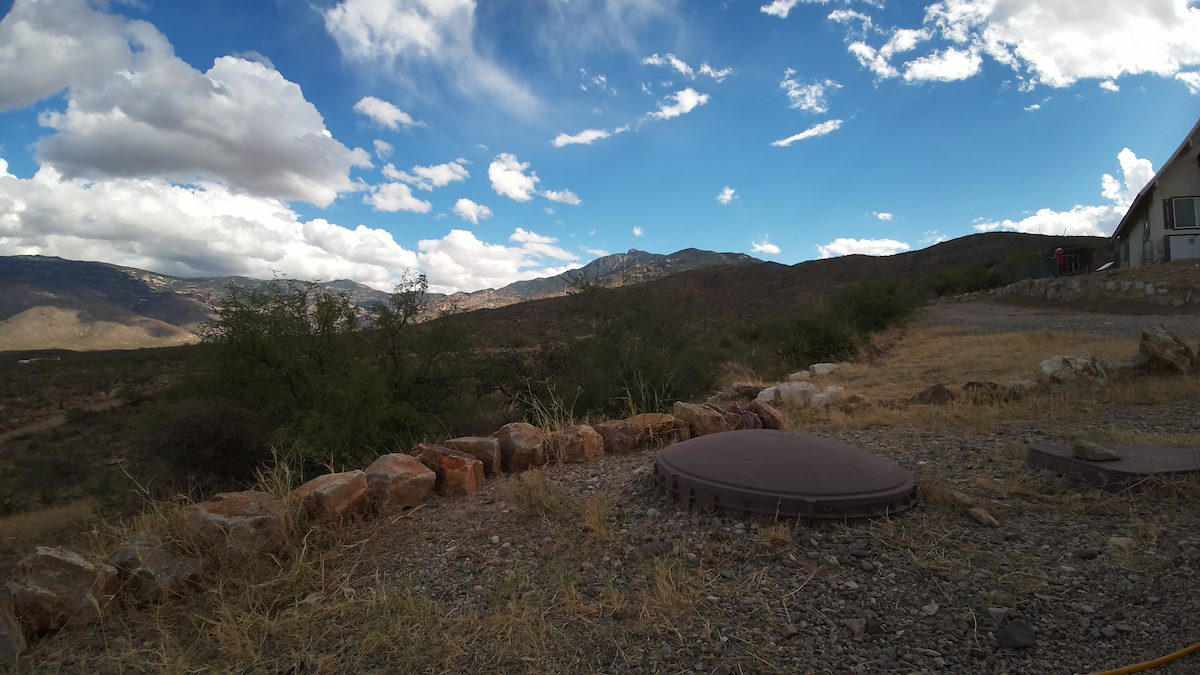
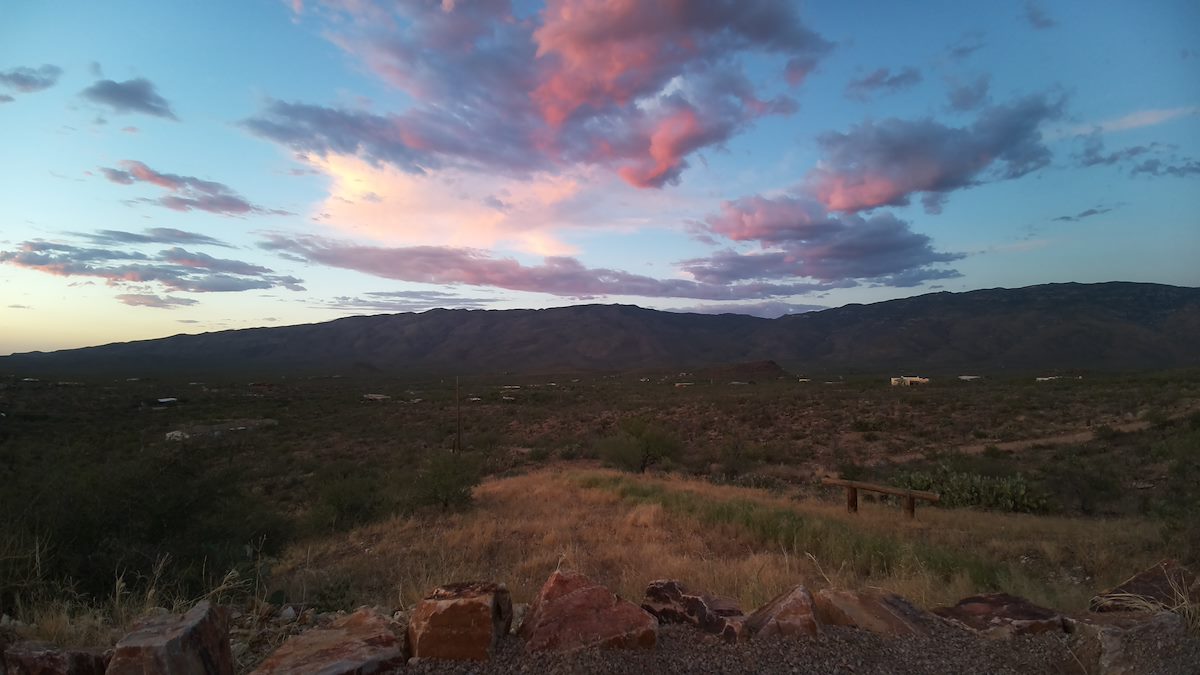
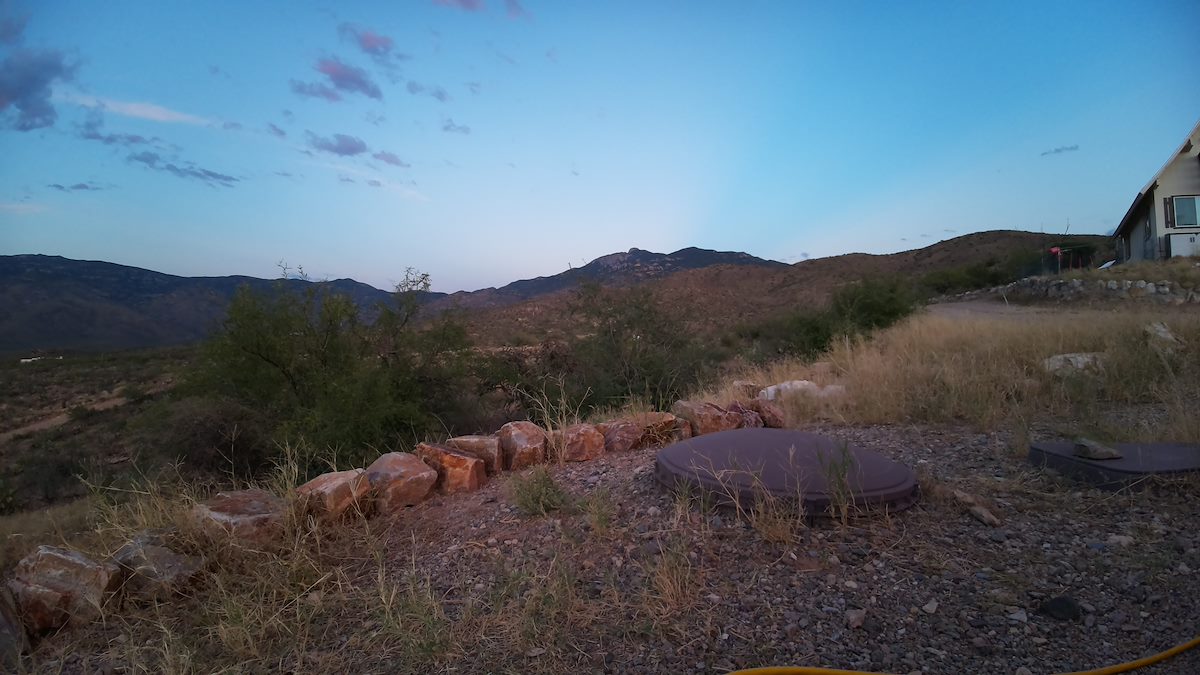
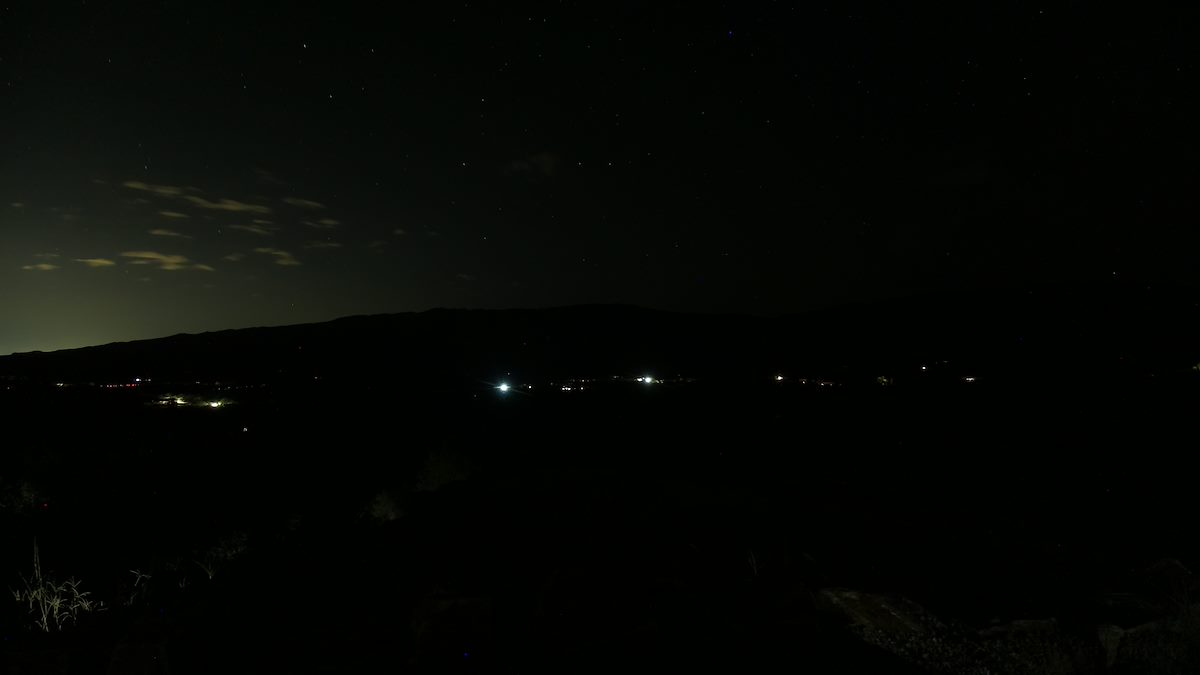
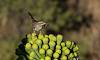
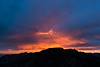
The wide angle camera and three overlapping photographs give an interesting-to-me picture of the landscape surrounding us - sometimes during the day the photographs are pure documentation, hard to love full-sun-clear-sky-views, sometimes they capture interesting weather or nice light and even over the short time we have had them running you can see the sun move and the moon change.
But the individual photographs are really not the point of this project - if I want a great picture I have frequent access to this location, own higher quality cameras and gear and have enough skill to take and process better photographs than I can create with the Pi Camera Module.
The point of this project is to try to run these cameras for years of time - hopefully capturing interesting details like the landscape in wet years/dry years/hot years/cool years, watching the lights and the landscape change as areas are developed/preserved/destroyed/re-created and eventually allowing us to compare details from 1, 2, 3, 5 or 10+ years ago. Of course many long term projects never make it to old age - but fun to try regardless!!!